Getting Started
This guide will walk through setting up your development environment and creating a new Rancher extension.
For an easy follow of this guide, there is two different concepts that a developer should understand:
- A
Development appis the environment on which you will develop and test your Rancher extensions. In aDevelopment appyou can have multipleextensions/packages - An
extension/packageis the actual extension code
Prerequisites
Note: Extensions development is only currently supported on Mac and Linux. Windows is not currently supported.
- Node.js Version:
- For the latest version, you will need Node.js version
v24(tested withv24.14.0).
- For the latest version, you will need Node.js version
- Yarn package manager installed globally:
npm install -g yarn. - Have a Rancher system up and running. See https://ranchermanager.docs.rancher.com/getting-started/installation-and-upgrade
Generating the Development app and your first extension
To develop a new extension, you need an application UI to host it during development. Rancher provides a helper to create a development app for you. This gives you a full version of the Rancher UI that can be used to develop and test your extension.
Rancher publishes a single npm package, @rancher/extension, to help bootstrap the creation of the development app and your first extension. This replaces the previous separate creators (@rancher/app and @rancher/pkg). These can target different Rancher systems.
When creating extensions, it is important to match the version of the @rancher/extension package with the target Rancher version:
- For Rancher
v2.10or later: Use thelatestversion of@rancher/extension.
Note: The development app references the Rancher dashboard code via the
@rancher/shellnpm module. Each version is bound to different Rancher versions. You can check theshellsupport matrix here.
Usage for latest tag
To create a development app with an extension targeting Rancher v2.10 or later, run:
npm init @rancher/extension@latest my-app
cd my-app && yarn install
This command will create a new development app in a folder called my-app and also create you first extension package also named my-app (inside /pkg folder) populating it with the minimum files needed for your extension.
If you want to add another extension inside the same development app, you'll need to be inside the root folder of the development app and just run the init command with the desired name for the other extension:
npm init @rancher/extension@latest another-extension
NOTE: the
npm initcommand must always use the same tag as the one that generated it. Also check examples below.
Extension Options
There are a few options available to be passed as an argument to the @rancher/extension script:
| Option | Description |
|---|---|
--update | -u | This will update all dependencies within the extension to match the declared version of the @rancher/shell library based on the tag. |
--app-name | -a <name> | Allows specifying a different name for the development app instead of using the extension name. |
--skeleton-only | -s | Installs only the development app without creating the extension package. |
-l | This will automatically add the .gitlab-ci.yml pipeline file for integration with GitLab |
-w | Does not add the Github workflow files build-extension-catalog.yml, build-extension-charts.yml to be used as Github actions. These files will be added automatically by default. |
-t | Does not add the template folders automatically into the Extension package. These folders will be added automatically by default |
- If you want the development app to have a different name than the extension package, you can use the
--app-name(or-a) option:
npm init @rancher/extension@latest new-extension -- --app-name my-app
This will create a development app named my-app and an extension package named new-extension.
- If you are already within a development app and want to create another extension package within the same application, simply run the same command:
npm init @rancher/extension@latest another-extension
In this case, only a new extension package (another-extension) will be created under the existing development app. No additional development app will be generated.
- If you only want to create the development app without any extension package, you can use the
--skeleton-only(or-s) option:
npm init @rancher/extension@latest my-app -- --skeleton-only
This will create only the development app, and you can later add extension packages as needed.
This flexibility allows you to structure your development environment based on your specific needs, whether you're starting fresh or adding to an existing setup.
Compatibility Note
As stated before, when you generate/support multiple extensions fom the same development app please make sure that all packages and the development app share the same tag. The Node.js version required depends on the tag, as outlined in the prerequisites section. Matching tags and Node.js versions is critical to avoid compatibility issues.
Running the Development app
After you've generated your development app, you can run the app with:
yarn install
API=<Rancher Backend URL> yarn dev
You should be able to open a browser at https://127.0.0.1:8005 and you'll get the Rancher Dashboard UI. Your development app is a full Rancher UI - but referenced via npm.
Developing your first Extension
To develop your first extension, you can check the documentation for the Extensions API to learn all the resources that an extension can use, or you can just follow the Usecases/Examples that we have included in our documentation for the most common usecases. Nevertheless, we will include a very quick guide below for you to follow.
Basic extension example
By the end of this example you'll have a new item in Rancher's main navigation sidebar that leads to a custom page. If your dev server is already running (yarn dev), saving the files below will hot-reload the browser automatically — no restart needed.
Replace the contents of the file ./pkg/my-app/index.ts with:
import { importTypes } from '@rancher/auto-import';
import { IPlugin } from '@shell/core/types';
import extensionRouting from './routing/extension-routing';

// Init the package
export default function (plugin: IPlugin) {
  // Auto-import model, detail, edit from the folders
  importTypes(plugin);

  // Provide extension metadata from package.json
  // it will grab information such as `name` and `description`
  plugin.metadata = require('./package.json');

  // Load a product
  plugin.addProduct(require('./product'));

  // Add Vue Routes
  plugin.addRoutes(extensionRouting);
}
What these calls do:
importTypes(plugin)— auto-registers any model, detail, or edit view components placed in conventional folders (./models/,./detail/,./edit/). Safe to omit if your extension has no custom Kubernetes resource views.plugin.metadata— readsname,version, anddescriptionfrom yourpackage.jsonand exposes them to Rancher's Extensions marketplace. Without this, installed extensions show no display name.plugin.addProduct— loads yourproduct.tsand registers the top-level navigation product it defines.plugin.addRoutes— registers the Vue Router routes from your routing file so Rancher knows which component to render when a user navigates to your extension's pages.
Next, create a new file ./pkg/my-app/product.ts with this content:
import { IPlugin } from '@shell/core/types';

export function init($extension: IPlugin, store: any) {
  const YOUR_PRODUCT_NAME = 'myProductName';
  const BLANK_CLUSTER = '_';

  const { product } = $extension.DSL(store, YOUR_PRODUCT_NAME);

  product({
    icon: 'gear',
    inStore: 'management',
    weight: 100,
    to: {
      name: `${YOUR_PRODUCT_NAME}-c-cluster`,
      path: `/${YOUR_PRODUCT_NAME}/c/:cluster/dashboard`,
      params: {
        product: YOUR_PRODUCT_NAME,
        cluster: BLANK_CLUSTER,
        pkg: YOUR_PRODUCT_NAME,
      },
    },
  });
}
Note on
BLANK_CLUSTER = '_': This is a Rancher convention meaning "this product does not operate in the context of a specific downstream cluster". Global products (like Fleet or Cluster Management) use'_'because they manage resources across all clusters. If you were building a cluster-scoped product you would use'cluster'as theinStorevalue instead. See Concepts for the distinction.
And finally create a file + folder /routing/extension-routing.ts with the content:
// Don't forget to create a VueJS page called index.vue in the /pages folder!!!
import Dashboard from '../pages/index.vue';

const BLANK_CLUSTER = '_';
const YOUR_PRODUCT_NAME = 'myProductName';

const routes = [
  {
    name: `${YOUR_PRODUCT_NAME}-c-cluster`,
    path: `/${YOUR_PRODUCT_NAME}/c/:cluster`,
    component: Dashboard,
    meta: {
      product: YOUR_PRODUCT_NAME,
      cluster: BLANK_CLUSTER,
      pkg: YOUR_PRODUCT_NAME,
    },
  },
];

export default routes;
This will create an entry on the main navigation bar in Rancher UI and when clicked it will take you to a dashboard page inside it
Building the Extension
Up until now, we've run the extension inside of the development app. To build the extension so we can use it independently, run:
yarn build-pkg my-app
This will build the extension as a Vue library and the built extension will be placed in the dist-pkg folder.
Loading Into Rancher in a quick way (Developer Load)
Test built extension by doing a Developer load
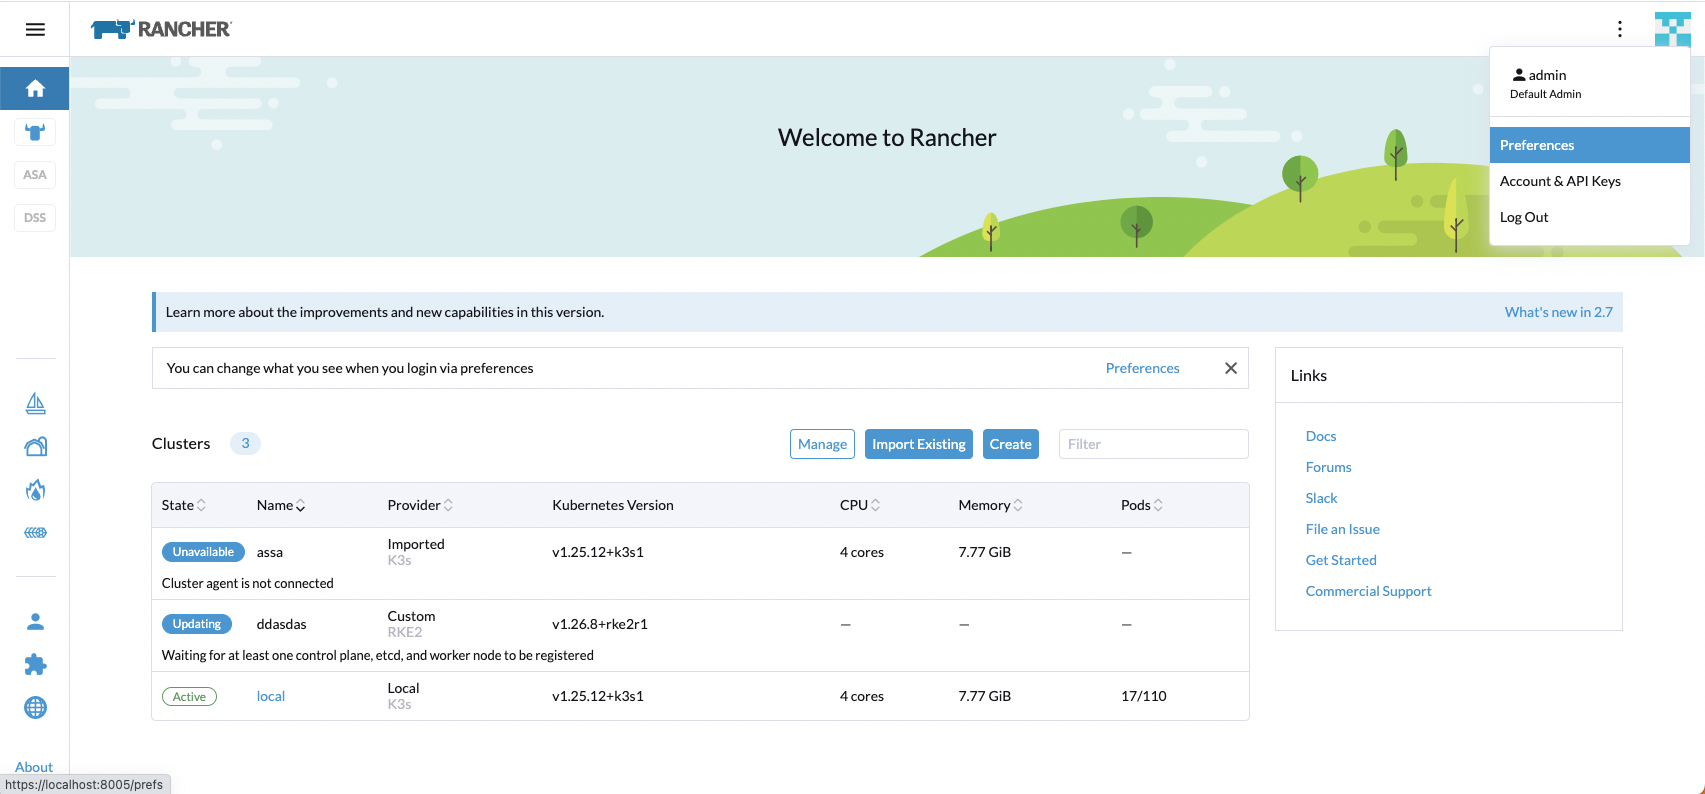
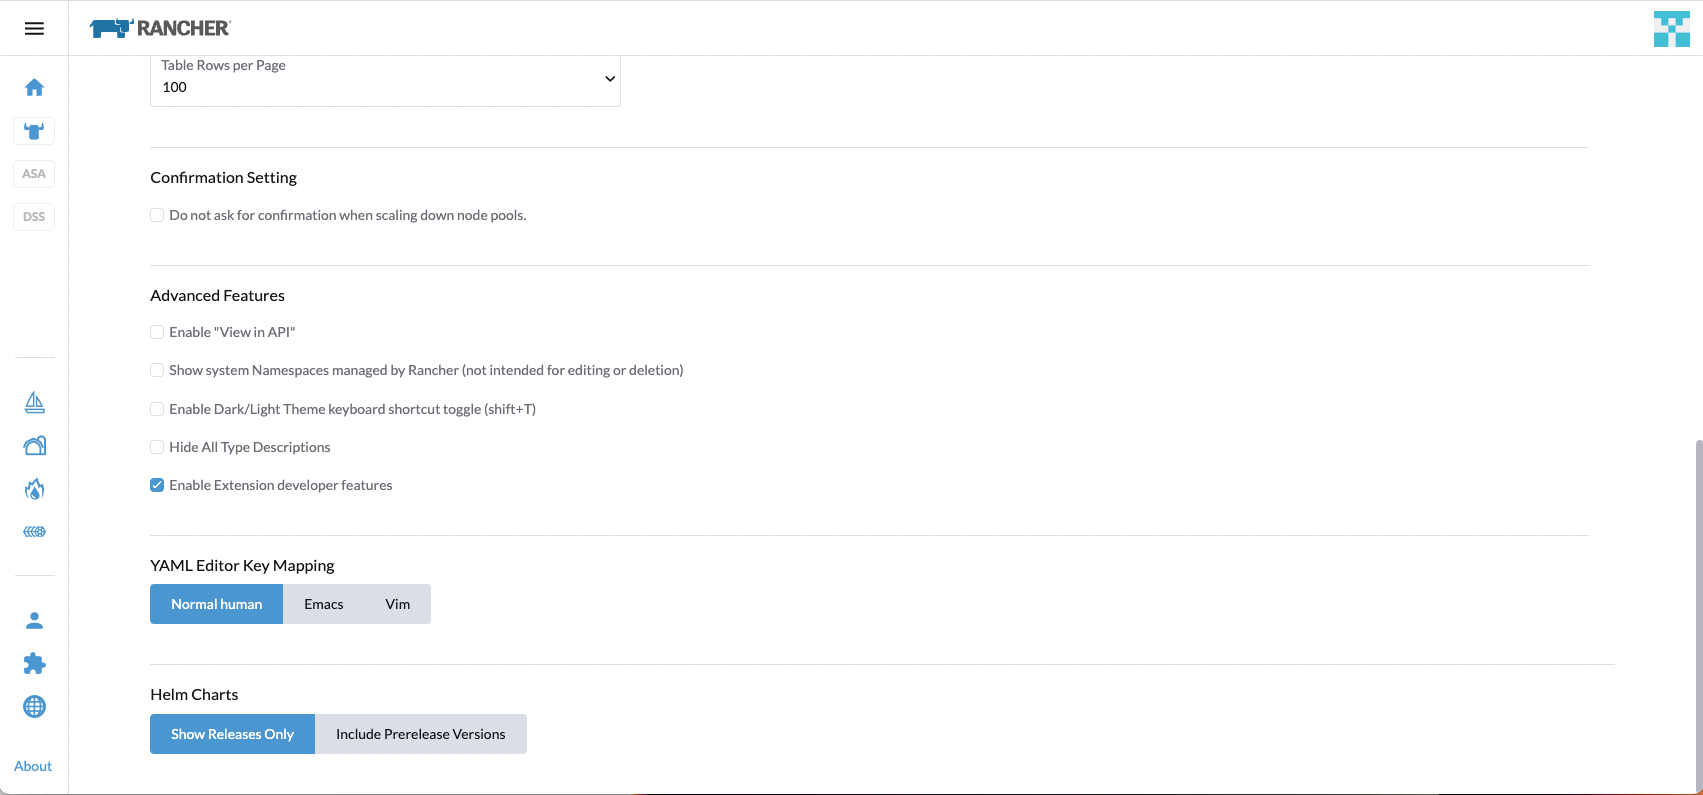
To enable Developer load in the UI, you should go to the user avatar in the top-right and go to Preferences. Under Advanced Features, check the Enable Extension developer features checkbox.
Now we need to serve the built package locally by running the following:
yarn serve-pkgs
This will start a small web server (on port 4500) that serves up the contents of the dist-pkg folder. It will output which extensions are being served up - in our case you should see output like that below - it shows the URLs to use for each of the available extensions.
Serving catalog on http://127.0.0.1:4500

Serving packages:

  my-app-0.1.0 available at: http://127.0.0.1:4500/my-app-0.1.0/my-app-0.1.0.umd.min.js
Now jump back into the UI and bring in the slide-in menu (click on the hamburger menu in the top-left) and click on 'Extensions'.
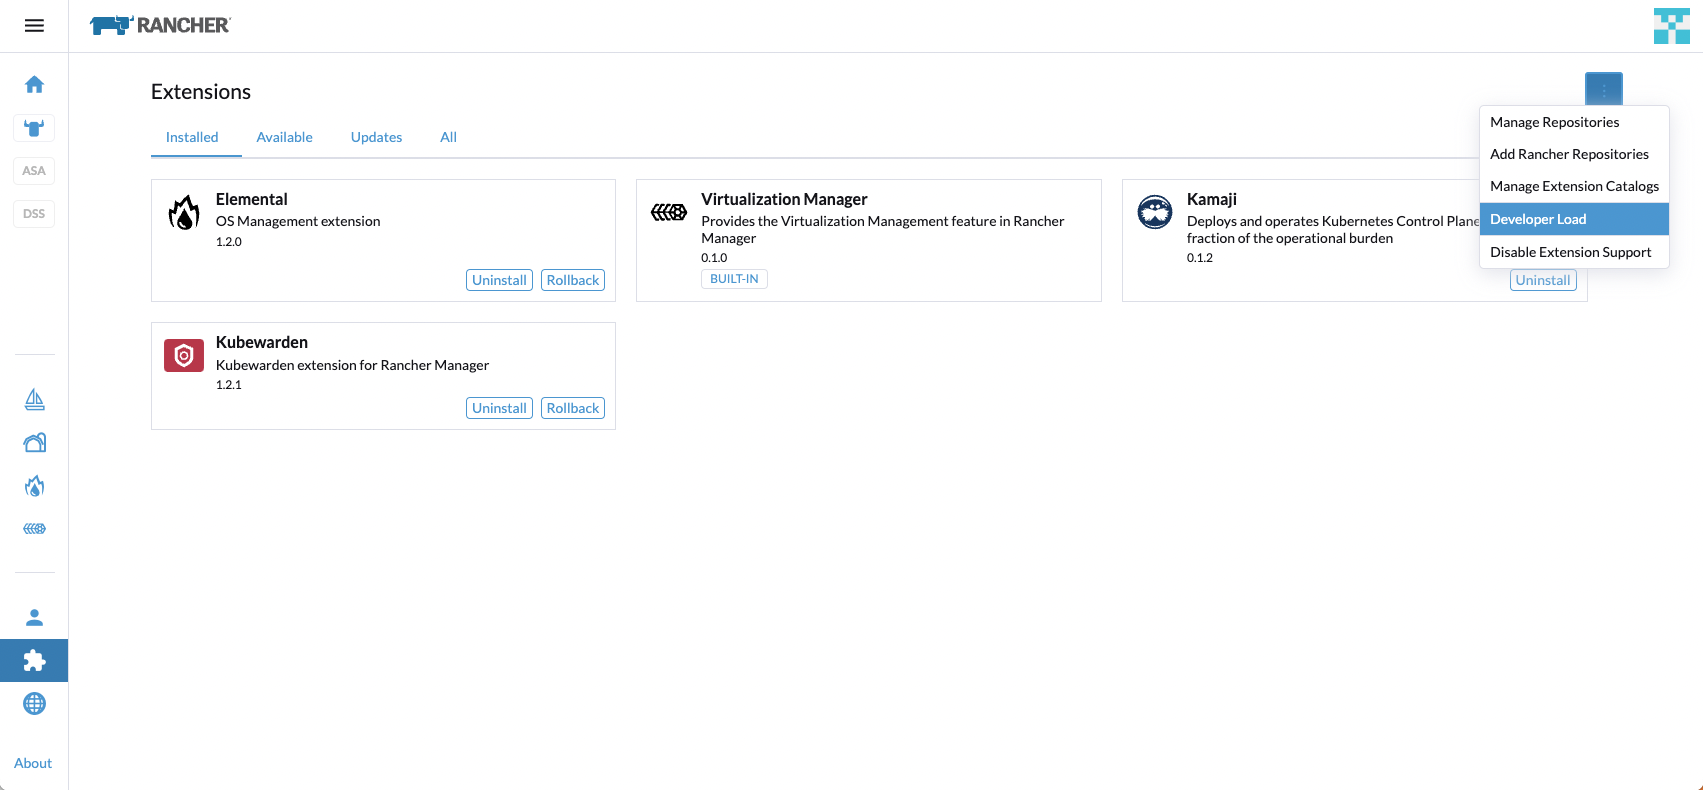
Go to the three dot menu and select 'Developer load' - you'll get a dialog allowing you to load the extension into the UI.
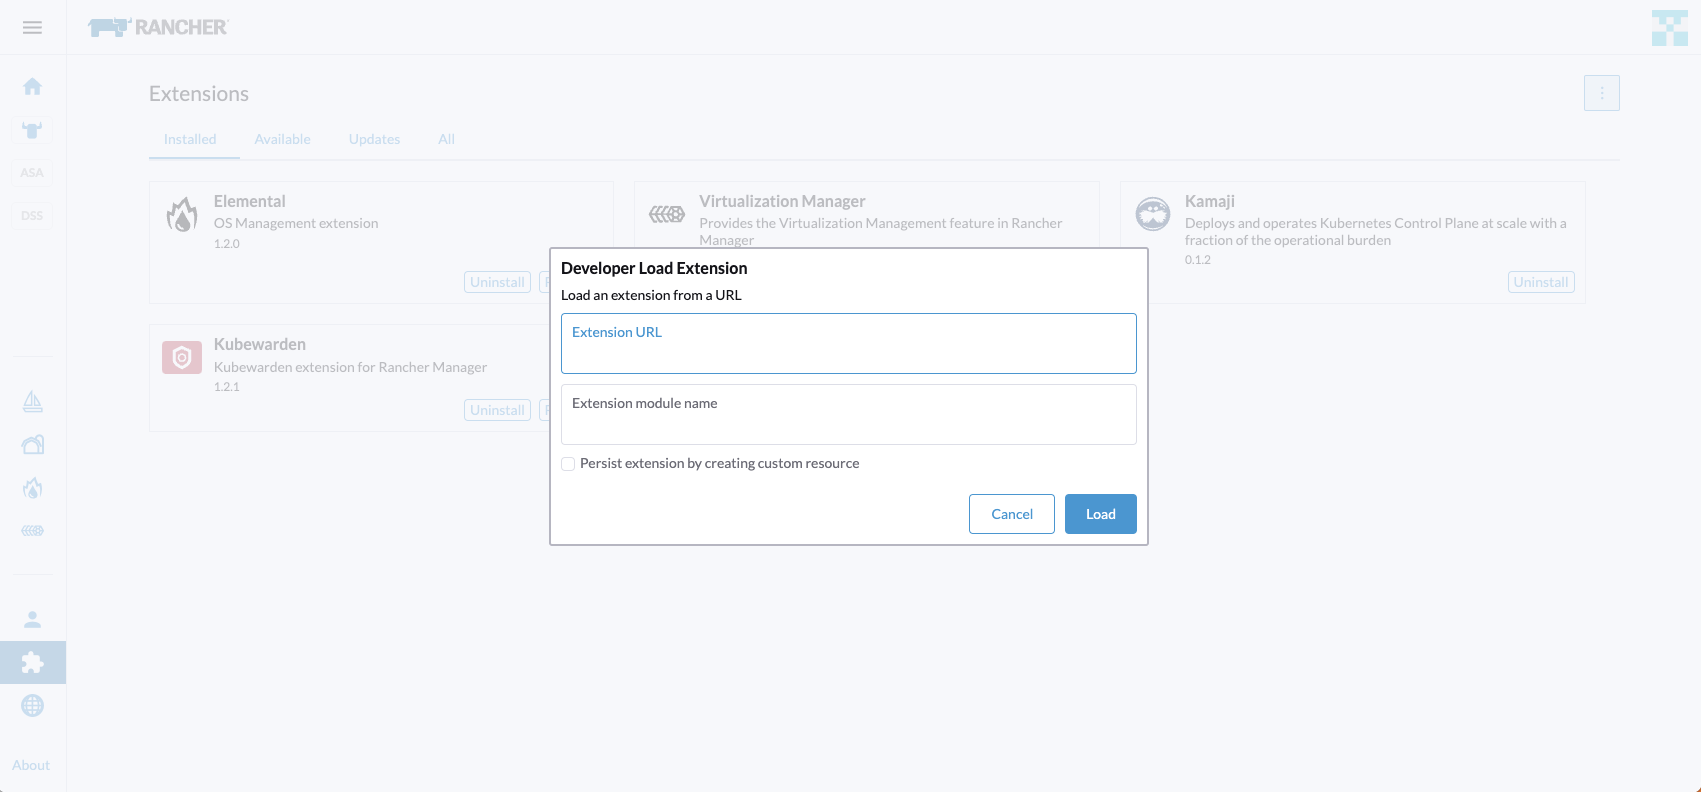
In the top input box Extension URL, enter:
http://127.0.0.1:4500/my-app-0.1.0/my-app-0.1.0.umd.min.js
Press 'Load' and the extension will be loaded, you should see a notification telling you the extension was loaded and if you bring in the side menu again, you should see the Example nav item there now.
This illustrates dynamically loading an extension.
You'll notice that if you reload the Rancher UI, the extension is not persistent and will need to be added again. You can make it persistent by checking the Persist extension by creating custom resource checkbox in the Developer Load dialog.
Prevent loading your extension in dev mode
When we run API=<Rancher Backend URL> yarn dev, our test extension will be automatically loaded into the application - this allows us to develop
the extension with hot-reloading. To test loading the extension dynamically, we can update configuration to tell Rancher not to include our extension.
To do this, edit the file vue.config.js in the root my-app folder, and add the name of the package you want to exclude, such as:
const config = require('@rancher/shell/vue.config');

module.exports = config(__dirname, {
  excludes: ['my-app'],
});
Now restart your app by running the UI again with:
API=<Rancher Backend URL> yarn dev
Open a web browser to https://127.0.0.1:8005 and you'll see that the Example nav item is not present - since the extension was not loaded.
Note: You need to be an admin user to test Extensions in the Rancher UI
Releasing your extension as a Helm Chart
Creating a Release for your extension is the official avenue for loading extensions into any Rancher instance. As mentioned in the introduction, the extension can be packaged into a Helm chart and added as a Helm repository to be easily accessible from your Rancher Manager or it can even be published as an an Extension Catalog Image (container registry). You should check all the information related to Releasing/Publishing an extension here.
For the Getting Started guide, we will only focus on releasing your extension as a Helm Chart. For that we recommend following the baked-in automated publish on Github that we offer via Github workflows.
Note: GitLab support is offered through leveraging the ECI build. For configuration instructions, follow the steps in the Gitlab Integration section.
Release Prerequisites
Check all the release prerequisites information here.
Consuming the Helm chart
Check all the information on how to consume the generated Helm Chart on Rancher here.
Wrap-up
This guide has showed you how to create a development app that helps you develop and test one or more extensions.
We showed how we can develop and test those with hot-reloading in the browser and how we can build our extensions into a package that we can dynamically load into Rancher at runtime. We also went over how to release our extensions as Helm charts using the automated workflow.